Playwright Installation Guide: How to Install Playwright in 2026
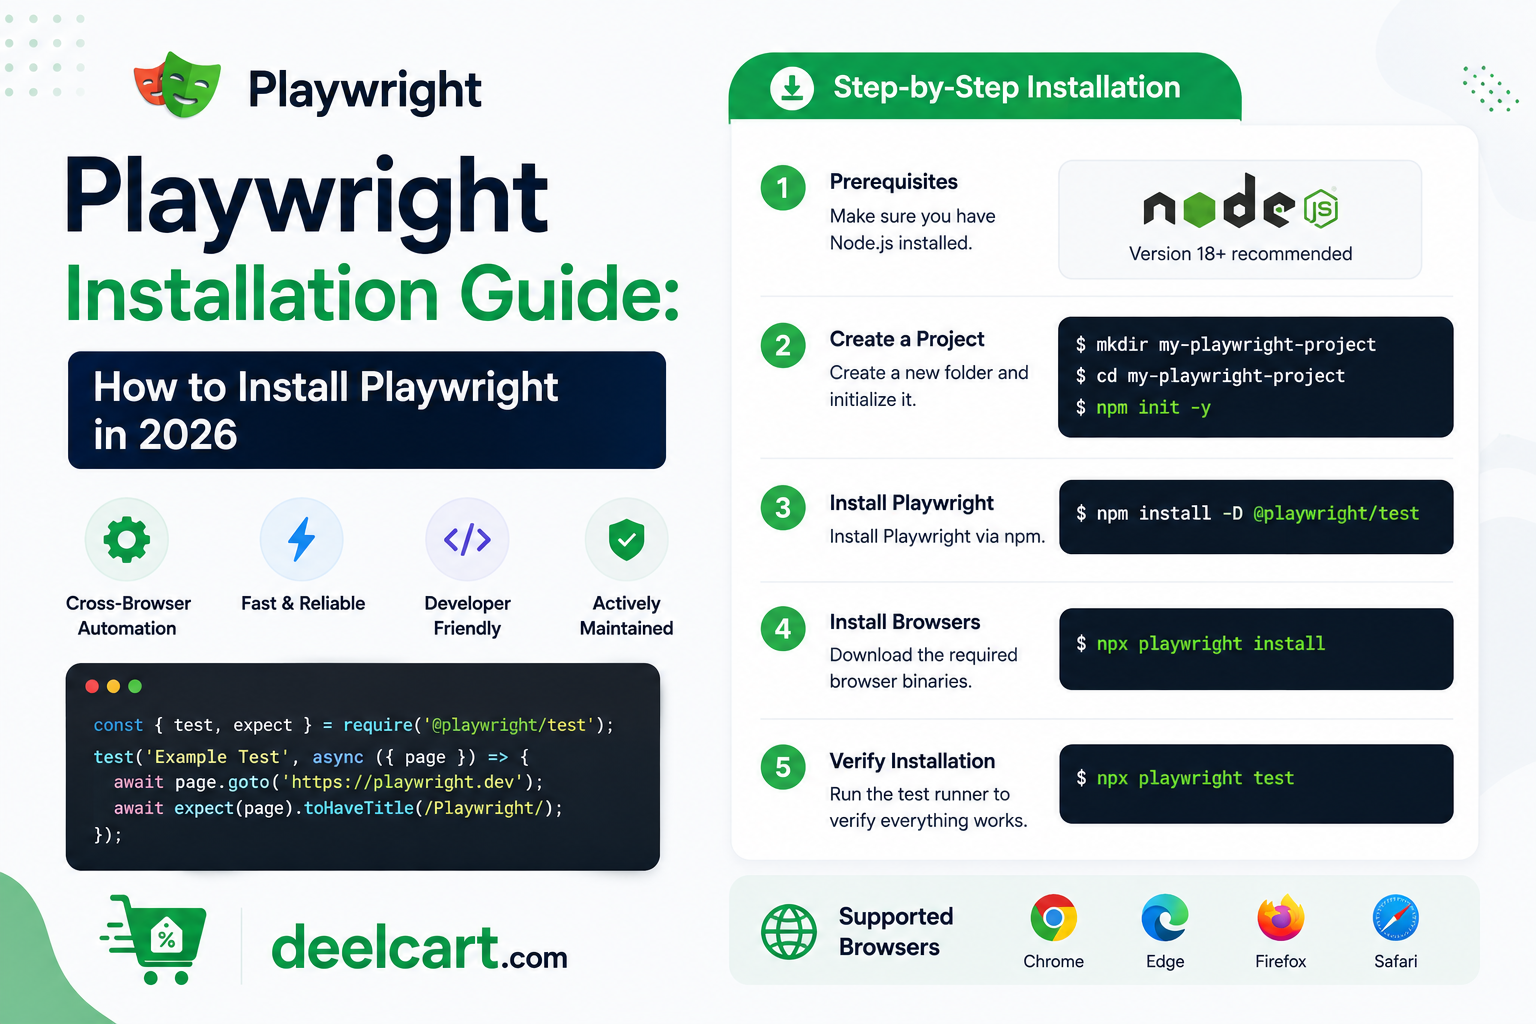
Getting Playwright installed and running your first test takes less than five minutes. This guide walks you through the complete installation process for every supported language — JavaScript, TypeScript, Python, and Java — with clear steps and common troubleshooting tips.
What Is Playwright?
Playwright is an open source browser automation library that lets you control real browsers programmatically. It is used primarily for end-to-end testing — simulating real user interactions like clicking buttons, filling forms, navigating between pages, and verifying that the right content appears on screen.
Why developers choose Playwright:
- Supports Chromium, Firefox, and WebKit in a single tool
- Auto-waiting built in — no manual sleep or wait configuration needed
- Built-in trace viewer, video recording, and screenshot capture
- Runs tests in parallel by default for faster CI/CD pipelines
- Works across Windows, macOS, and Linux
- Supports JavaScript, TypeScript, Python, Java, and .NET
Prerequisites
Before installing Playwright, make sure you have the following:
- Node.js 18 or higher for JavaScript and TypeScript — download from nodejs.org
- Python 3.8 or higher for Python — download from python.org
- Java 8 or higher for Java — download from java.com
- A terminal or command prompt
- A code editor — VS Code is recommended
node --version in your terminal before proceeding.Installing Playwright for JavaScript and TypeScript
JavaScript and TypeScript are the most popular languages for Playwright and have the best tooling support. This is the recommended setup for most developers.
Step 1 — Create a New Project Folder
Open your terminal and create a new folder for your project by running mkdir my-playwright-project followed by cd my-playwright-project.
Step 2 — Run the Playwright Installer
Run the official Playwright init command: npm init playwright@latest
This starts an interactive setup wizard that asks you a few questions:
- Choose between TypeScript or JavaScript — TypeScript is recommended for larger projects
- Name of your tests folder — press Enter to accept the default tests folder
- Add a GitHub Actions workflow — choose yes if you want CI/CD integration
- Install Playwright browsers — choose yes to download Chromium, Firefox, and WebKit
Step 3 — Verify the Installation
Run the sample test generated during setup: npx playwright test
You should see output showing tests running across multiple browsers and passing. If all tests pass your installation is working correctly.
Step 4 — View the Test Report
After running tests open the HTML report to see detailed results: npx playwright show-report
This opens a browser window showing a full test report with pass/fail status, screenshots, and timing for every test.
Understanding the Project Structure
After installation your project will contain these key files and folders:
- tests/ — your test files live here
- tests/example.spec.ts — the sample test generated during setup
- playwright.config.ts — your Playwright configuration file
- package.json — your project dependencies
- node_modules/ — installed packages including Playwright
playwright.config.ts — this is where you configure which browsers to run, set timeouts, define base URLs, and configure reporting.Writing Your First Playwright Test
Open the tests folder and create a new file. A simple test visits a website and checks the page title using page.goto() to navigate, expect(page).toHaveTitle() to verify the title, and page.getByRole() to find and click elements.
Run your test file with npx playwright test first.spec.ts.
Installing Playwright for Python
If you prefer Python, Playwright has a fully-featured Python library.
Step 1 — Install the Playwright Package
Install Playwright using pip: pip install playwright
Step 2 — Install the Browser Binaries
Download all browser binaries: playwright install
This downloads Chromium, Firefox, and WebKit for Python use.
Step 3 — Install pytest-playwright
Install the pytest plugin: pip install pytest-playwright
Use page.goto() to navigate, expect(page).tohavetitle() to check titles, and page.getbyrole() to interact with elements. Run your tests with pytest test_first.py.
Installing Playwright for Java
For Java projects using Maven, add the Playwright dependency to your pom.xml file. Search for com.microsoft.playwright in the Maven repository and add the latest version as a dependency.
For Gradle projects add implementation 'com.microsoft.playwright:playwright:1.44.0' to your dependencies block in build.gradle. Then install the browser binaries by running the Playwright CLI install command from your project root.
Running Tests in Different Modes
Playwright offers several useful modes for running and debugging tests:
- Run all tests:
npx playwright test - Run a specific file:
npx playwright test tests/login.spec.ts - Run in headed mode:
npx playwright test --headed - Run in Chromium only:
npx playwright test --project=chromium - Run in Firefox only:
npx playwright test --project=firefox - Run in WebKit only:
npx playwright test --project=webkit - Run in debug mode:
npx playwright test --debug - Run with UI mode:
npx playwright test --ui
Configuring Playwright
The playwright.config.ts file controls how Playwright behaves. Key configuration options include:
- testDir — folder where your test files live
- timeout — maximum time a single test can run before failing
- retries — how many times to retry a failing test automatically
- workers — how many tests to run in parallel
- baseURL — base URL prepended to relative URLs in your tests
- screenshot — when to capture screenshots — always, only on failure, or never
- video — when to record video of test runs
- trace — when to capture traces for debugging
Using the Playwright Code Generator
Playwright includes a code generator that records your browser interactions and generates test code automatically. Run it with npx playwright codegen https://example.com.
This opens a browser window and a code panel side by side. As you click, type, and navigate in the browser, Playwright generates the corresponding test code in real time. When you are done copy the generated code into your test file.
Installing Playwright Browsers Manually
If you need to manage browsers manually use these commands:
- Install all browsers:
playwright install - Install Chromium only:
playwright install chromium - Install Firefox only:
playwright install firefox - Install WebKit only:
playwright install webkit - Install with system dependencies on Linux:
playwright install --with-deps
Common Installation Issues and Fixes
Browsers not found after installation — run npx playwright install to download browser binaries separately from the package.
Permission errors on Linux — run npx playwright install --with-deps to install with system dependencies.
Tests timing out — increase the timeout in your config file or add test.setTimeout(60000) inside a specific test.
Node.js version too old — Playwright requires Node.js 18 or higher. Run node --version to check and update from nodejs.org if needed.
Cannot find module @playwright/test — run npm install to install dependencies then npx playwright install to install browsers.
Playwright vs Selenium: Quick Comparison
| Feature | Playwright | Selenium |
|---|---|---|
| Setup complexity | Low — one command | Higher — drivers needed |
| Auto-waiting | Built-in | Manual configuration |
| Browser binaries | Included | Separate download |
| Debugging tools | Built-in trace viewer | External tools needed |
| Parallel execution | Native | Via Selenium Grid |
Frequently Asked Questions
Is Playwright free to use?
Yes. Playwright is completely free and open source. It is maintained by Microsoft and available on GitHub under the Apache 2.0 licence.
Which language should I use with Playwright?
JavaScript and TypeScript are the most popular choices and have the best tooling support. If your team already uses Python or Java both are fully supported. TypeScript is recommended for larger projects because of its type safety and better IDE support.
Does Playwright work on Linux servers without a display?
Yes. Playwright supports headless mode on Linux servers with no graphical display which makes it perfect for CI/CD pipelines. Set headless: true in your config or use the --headless flag.
How do I update Playwright to the latest version?
Run npm install @playwright/test@latest to update the package then run npx playwright install to update the browser binaries to match.
Can Playwright test mobile browsers?
Yes. Playwright includes device emulation presets for dozens of mobile devices including iPhone, iPad, Pixel, and Galaxy. Configure them in your playwright.config.ts under the projects array.
How many browsers does Playwright support?
Playwright supports three browser engines — Chromium, Firefox, and WebKit. This covers virtually all modern browser usage without needing to install separate drivers.
Keep Learning with Free Courses on DeelCart
Want to learn Playwright, software testing, and web development in depth? DeelCart has hundreds of free courses on Udemy covering testing, JavaScript, TypeScript, Python, and more — all with verified 100% OFF coupons.
Justin is a self-taught developer who builds and runs DeelCart himself — from the articles to the server it runs on. He manages his own Linux infrastructure and writes guides based on tools and workflows he actually uses day to day.