Free Unlimited Custom Domain Email with Gmail and Cloudflare in 2026

Table of Contents
- How It Works
- What You Need Before Starting
- Step 1 — Add Your Domain to Cloudflare
- Step 2 — Update Your Domain's Nameservers
- Step 3 — Set Up Email Routing in Cloudflare
- Step 5 — Add More Addresses
- Troubleshooting Common Issues
- Who This Is Best For
- Frequently Asked Questions
There is a completely free way to do this. Cloudflare Email Routing forwards incoming mail sent to your custom domain into your existing Gmail inbox. Gmail's Send Mail As feature lets you reply and compose from your custom domain address. The result is a fully functional custom domain email that costs nothing and requires no paid subscriptions.
This guide walks through the complete setup step by step.
How It Works
The system has two parts working together.
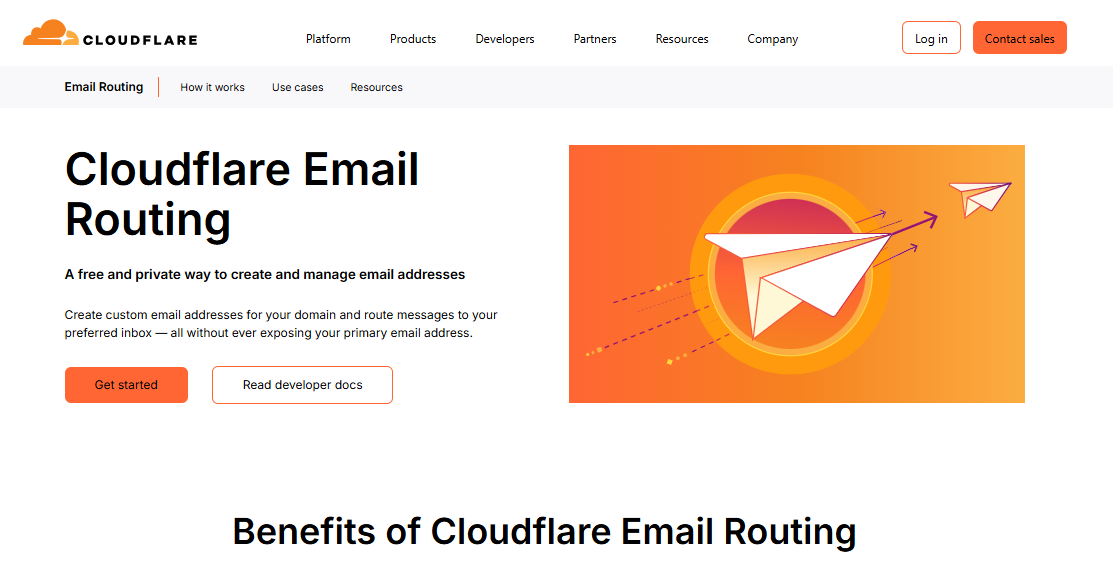
Cloudflare Email Routing — a free feature included with every Cloudflare account — receives any email sent to your custom domain address and forwards it to your personal Gmail inbox. When someone sends an email to [email protected], it arrives in your Gmail.
Gmail's Send Mail As feature — a built-in Gmail capability — lets you compose and reply using your custom domain address as the From address, sent through Gmail's own mail servers. When you reply to a forwarded message, the recipient sees the reply coming from [email protected] rather than your personal Gmail address.
No Google Workspace subscription. No paid email hosting. Just Cloudflare and Gmail working together.
What You Need Before Starting
- A Gmail account — free at gmail.com, takes two minutes to create if you do not have one
- A custom domain you own and can control DNS for — registered anywhere including Cloudflare, Namecheap, GoDaddy, or AWS Route 53
Step 1 — Add Your Domain to Cloudflare
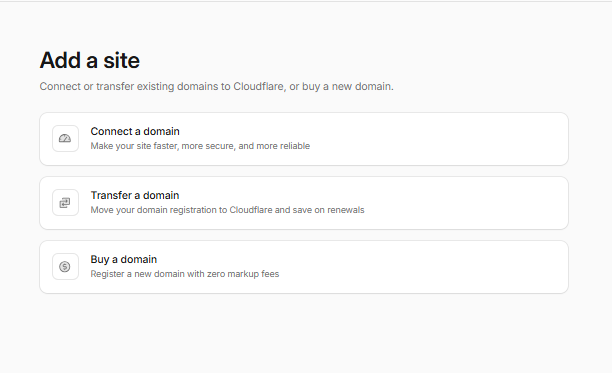
Create a free Cloudflare account at cloudflare.com and log in. Click Add a Domain and enter your domain name. Select the Free plan — it includes Email Routing and everything you need for this guide at no cost.
Cloudflare scans and imports any existing DNS records it finds. If your domain already has records — for a website, for example — review them carefully to make sure they imported correctly.
Cloudflare gives you two new nameserver addresses at the end of this step. Keep this page open — you need these in the next step.
Step 2 — Update Your Domain's Nameservers
Go to wherever you registered your domain — Namecheap, GoDaddy, name.com, or your registrar of choice. Find the Nameservers section and replace the existing nameservers with the two Cloudflare nameservers from Step 1. Save the change.
DNS propagation typically completes within 15 minutes but can occasionally take a few hours depending on your registrar. Return to Cloudflare and refresh the domain status page — when it shows as active, proceed to Step 3.
Step 3 — Set Up Email Routing in Cloudflare
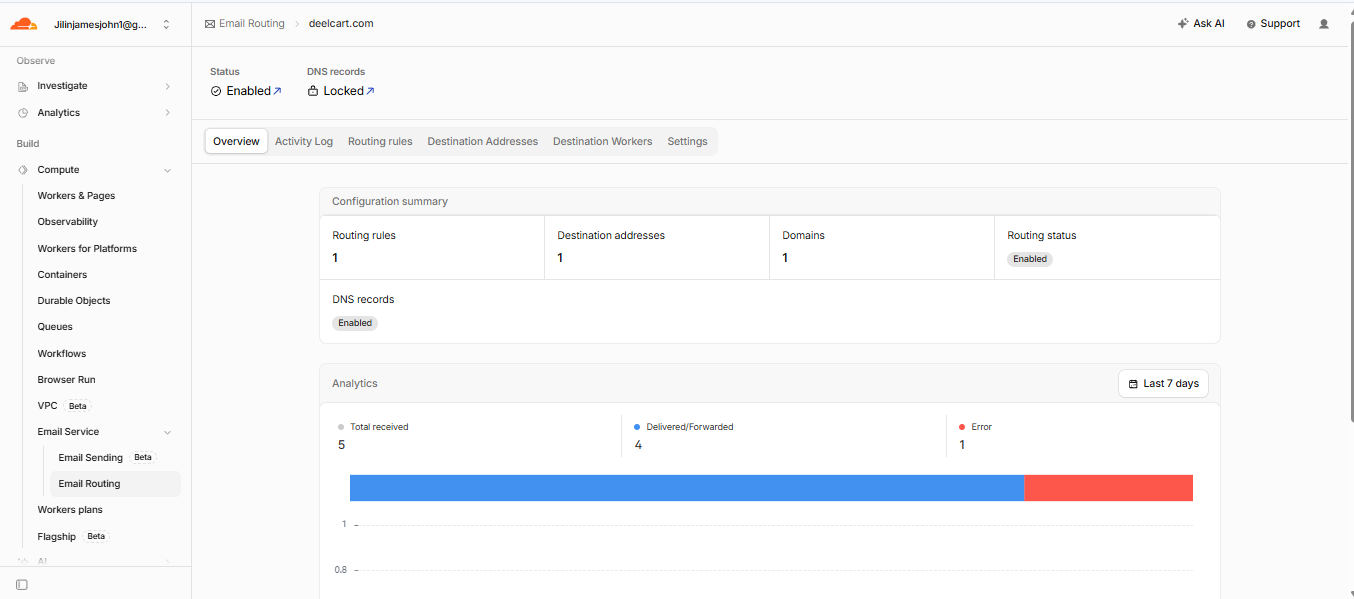
Once your domain is active in Cloudflare, navigate to Compute, then Email Service, then Email Routing, and enable it. The first time you turn it on Cloudflare shows the required DNS records — MX records and a TXT record — and offers to add them automatically. Click Add records and enable to let Cloudflare insert them for you.
If another email service was previously configured on this domain, these records may conflict with existing MX records. Resolve any conflicts before proceeding, or use a fresh domain to avoid the issue entirely.
Step 3a — Add a Destination Address
Before creating custom email addresses, you need to verify where forwarded mail will be delivered.
Go to Compute, then Email Service, then Email Routing, then Destination Addresses. Enter your personal Gmail address — the inbox where you want to receive forwarded mail. Cloudflare sends a verification email to that address. Open it and click the verification link.
Step 3b — Create a Routing Rule
Go to the Routing Rules tab and select Create routing rule. Configure the rule as follows — for Email pattern, enter the local part of the address you want to create, such as hello for [email protected], then select your domain. For Action, choose Send to an email. For Destination, select the verified Gmail address from Step 3a. Click Save.
Step 3c — Test Incoming Mail
Send a test email from a different email account to your new custom address. Check your Gmail inbox — the message should arrive. If it does not appear immediately, check your spam folder and allow a few minutes for DNS propagation to complete.
You can repeat Step 3b to create as many custom addresses as you want — support@, contact@, yourname@ — all forwarding to the same Gmail inbox or to different inboxes. Cloudflare Email Routing is free and there is no limit on the number of addresses.
Step 4 — Send Email as Your Custom Domain from Gmail
Incoming mail now works. By default however, replying to a forwarded message still sends from your personal Gmail address. To send and reply as your custom domain address, you need to configure Gmail's Send Mail As feature using a Gmail App Password.
Step 4a — Create a Gmail App Password
Go to your Google Account settings and turn on 2-Step Verification — App Passwords require this to be enabled. If you have not set it up, add an authenticator app now.
Once 2-Step Verification is on, search for App Passwords in your account settings. Create a new App Password and give it a clear name so you can identify it later — for example [email protected] Gmail alias. Google generates a 16-character password. Copy it immediately — you will paste it in the next step and cannot view it again after closing the window. You can always delete and regenerate it later if needed.
Step 4b — Add Your Custom Address to Gmail
In Gmail, open Settings by clicking the gear icon and select See all settings. Go to the Accounts and Import tab. Under Send mail as, click Add another email address.
Enter your name and your custom domain email address. Check Treat as an alias. Leave the Reply-to address field empty. Click Next Step.
Enter the following SMTP settings:
- SMTP Server:
smtp.gmail.com - Port: leave as default
- Security: TLS — leave as default
- Username: your actual Gmail address — for example
[email protected] - Password: the App Password you copied in Step 4a
Step 4c — Test Sending from Your Custom Address
Compose a new email in Gmail. You should now see a From dropdown where you can select your custom domain address. Send a test email to another account and confirm the recipient sees it sent from your custom domain.
To make replies automatically use the correct address, go to Settings, then Accounts and Import, and under When replying to a message, select Reply from the same address the message was sent to. This ensures that when someone emails [email protected] and you reply, the reply comes from [email protected] rather than your personal Gmail.
Step 5 — Add More Addresses
Repeat Steps 3 and 4 for every additional custom address you want to create. All addresses can route to one Gmail inbox, or to different Gmail accounts if multiple people need separate inboxes.
If several people need to manage the same address — for example a shared support@ inbox — consider creating a dedicated Gmail account specifically for that custom email and routing the address to that account rather than to a personal inbox.
Troubleshooting Common Issues
Test email never arrives — most likely DNS propagation is still completing. Wait 15 to 30 minutes and send another test. Also check your Gmail spam folder — forwarded mail occasionally lands there initially.
Send Mail As verification email not received — verify that your Cloudflare routing rule is pointing to the correct destination Gmail address and that the destination address is verified in Cloudflare.
Cannot send as custom address — double-check the App Password. Confirm that 2-Step Verification is turned on for your Google account — App Passwords do not work without it. Delete the App Password and generate a new one if you are unsure whether you copied it correctly.
Replies send from your Gmail address instead of custom domain — in Gmail Settings go to Accounts and Import and change the When replying to a message setting to Reply from the same address the message was sent to.
DNS records conflict with existing email service — if your domain previously used another email provider, old MX records may conflict with Cloudflare's. Remove the old MX records from Cloudflare's DNS settings before enabling Email Routing.
Who This Is Best For
This setup is ideal for solo developers, freelancers, and early-stage startups who need a professional-looking custom email address without paying for Google Workspace.
It uses a personal Gmail account rather than a dedicated business email system — it is a clever workaround rather than an officially supported enterprise solution. For small projects, side projects, and individuals this is perfectly sufficient and completely free.
As a business grows and needs features like shared inboxes, team email management, calendar integration, or more robust deliverability controls, migrating to a paid service like Google Workspace at $6 per user per month becomes the appropriate next step. But for getting started with a professional custom domain email at zero cost, this setup works excellently.
Frequently Asked Questions
Is this completely free?
Yes — Cloudflare's free plan includes Email Routing with no limits on the number of addresses. Gmail's Send Mail As feature is included in every free Gmail account. The only cost is your domain registration, which you would be paying regardless.
How many custom email addresses can I create?
Cloudflare Email Routing has no published limit on the number of routing rules. In practice you can create as many custom addresses as you need — support@, hello@, contact@, yourname@ — all routing to one or multiple Gmail inboxes at no additional cost.
Will this work with domains registered outside Cloudflare?
Yes. Your domain can be registered with any registrar — Namecheap, GoDaddy, name.com, AWS Route 53, or any other. You update the nameservers at your registrar to point to Cloudflare, which then handles DNS including Email Routing. You do not need to transfer your domain registration to Cloudflare.
Does this affect my existing website?
Changing nameservers to Cloudflare gives Cloudflare control over all DNS for your domain. Cloudflare imports your existing DNS records during setup. If you have a website already hosted elsewhere, the A records pointing to your web host should import and continue working. Review all imported records carefully before completing the nameserver change to ensure nothing is missing.
Can multiple people use the same custom domain email?
Yes. You can route the same custom address to multiple destination inboxes, or create separate custom addresses for each person and route them to their individual Gmail accounts. For a shared inbox where multiple people need to see and respond to the same incoming mail, routing to a dedicated shared Gmail account is the cleanest approach.
What happens if Cloudflare or Gmail changes their policies?
This setup depends on Cloudflare's free Email Routing feature and Gmail's Send Mail As feature both remaining available. Both have been stable for years. If either changes, the most likely fallback is migrating to Google Workspace or another paid email provider — which was always the natural next step as a business grows anyway.
Justin is a self-taught developer who builds and runs DeelCart himself — from the articles to the server it runs on. He manages his own Linux infrastructure and writes guides based on tools and workflows he actually uses day to day.